Documentation/Getting started/Android
The app on a phone
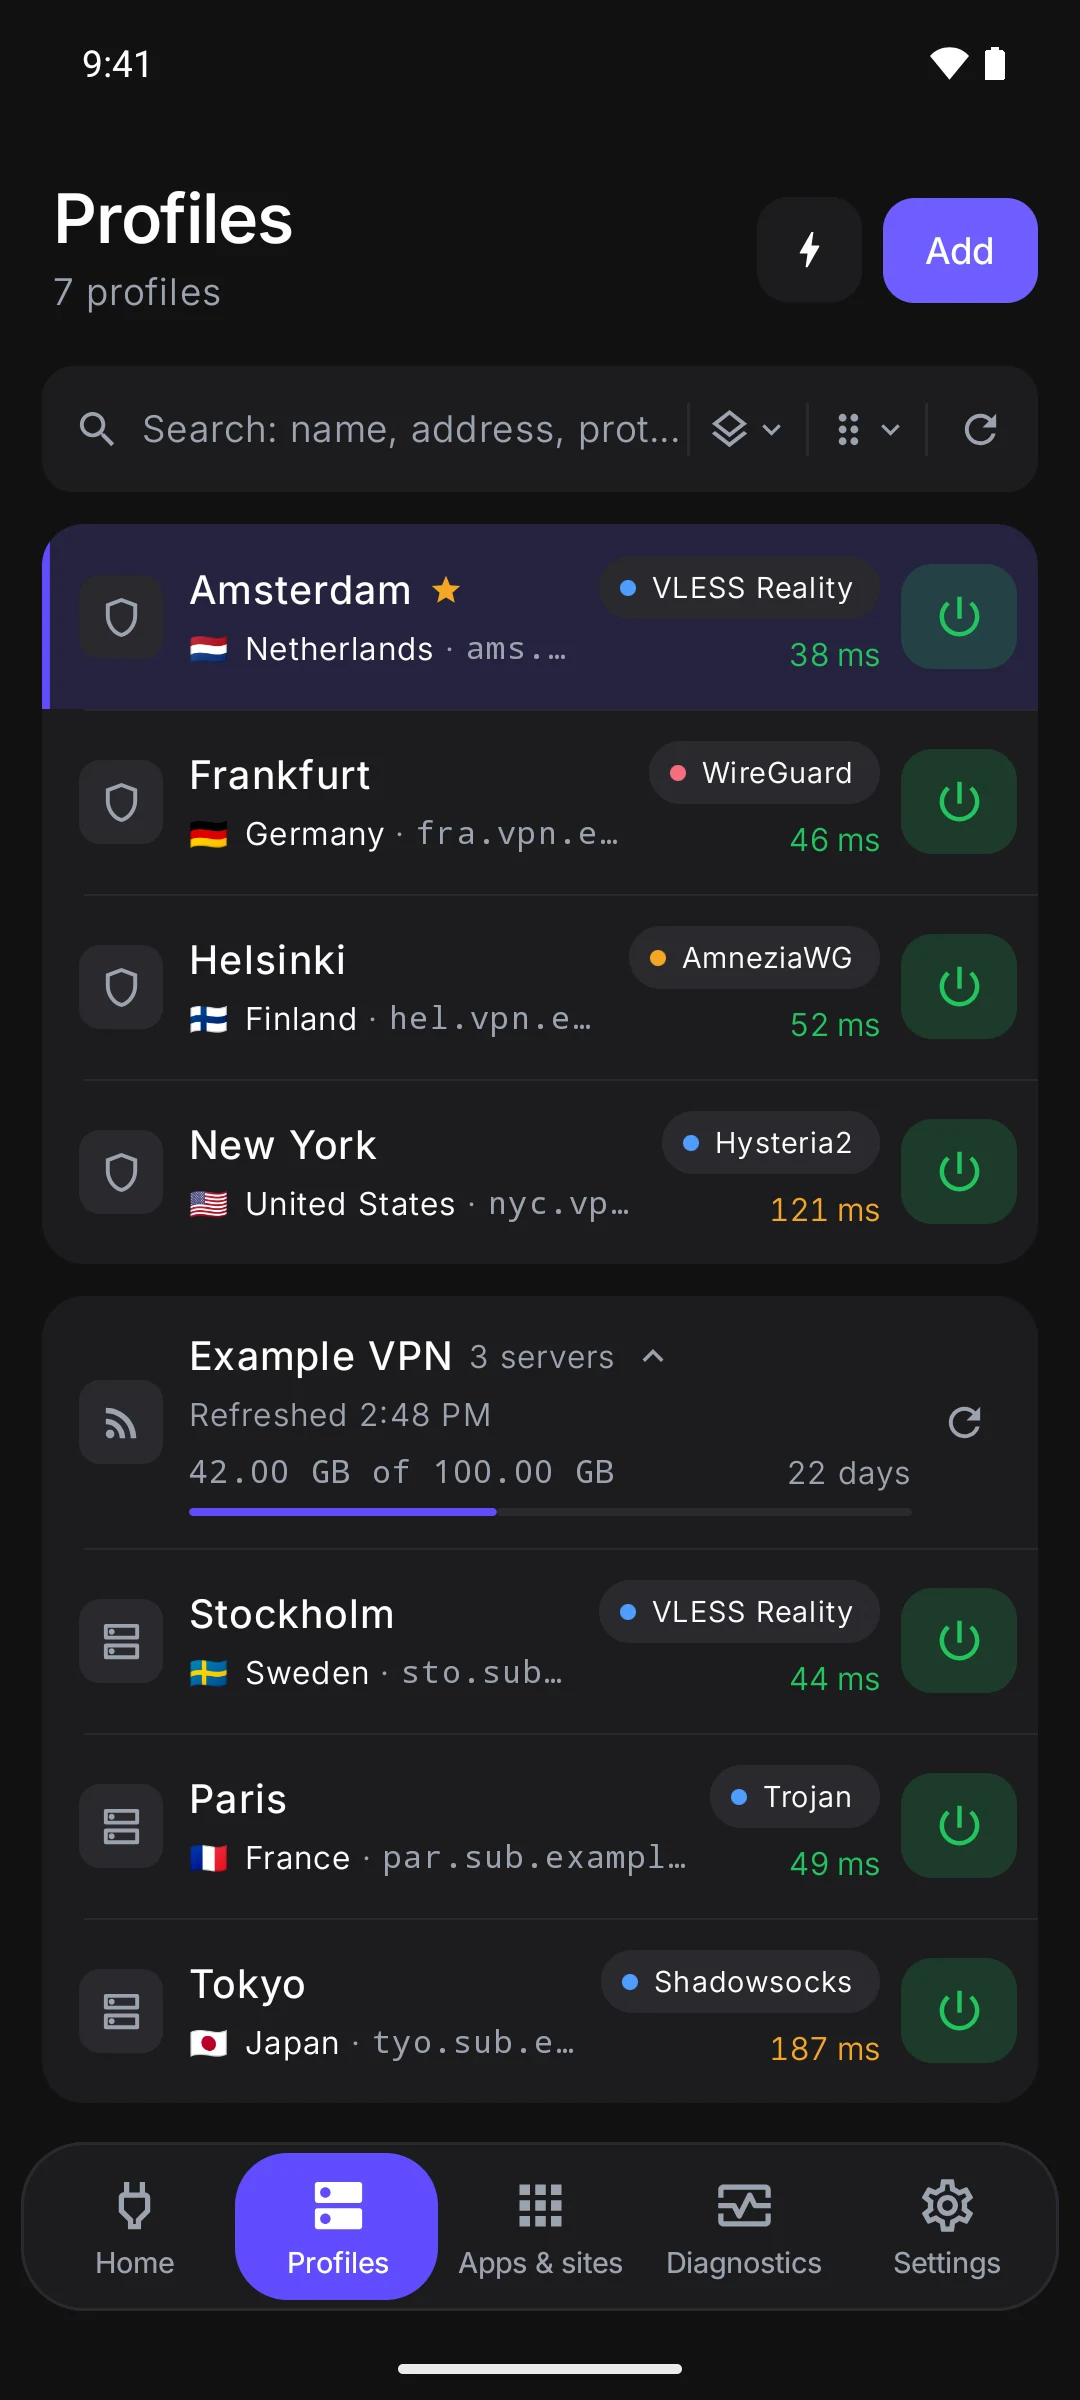
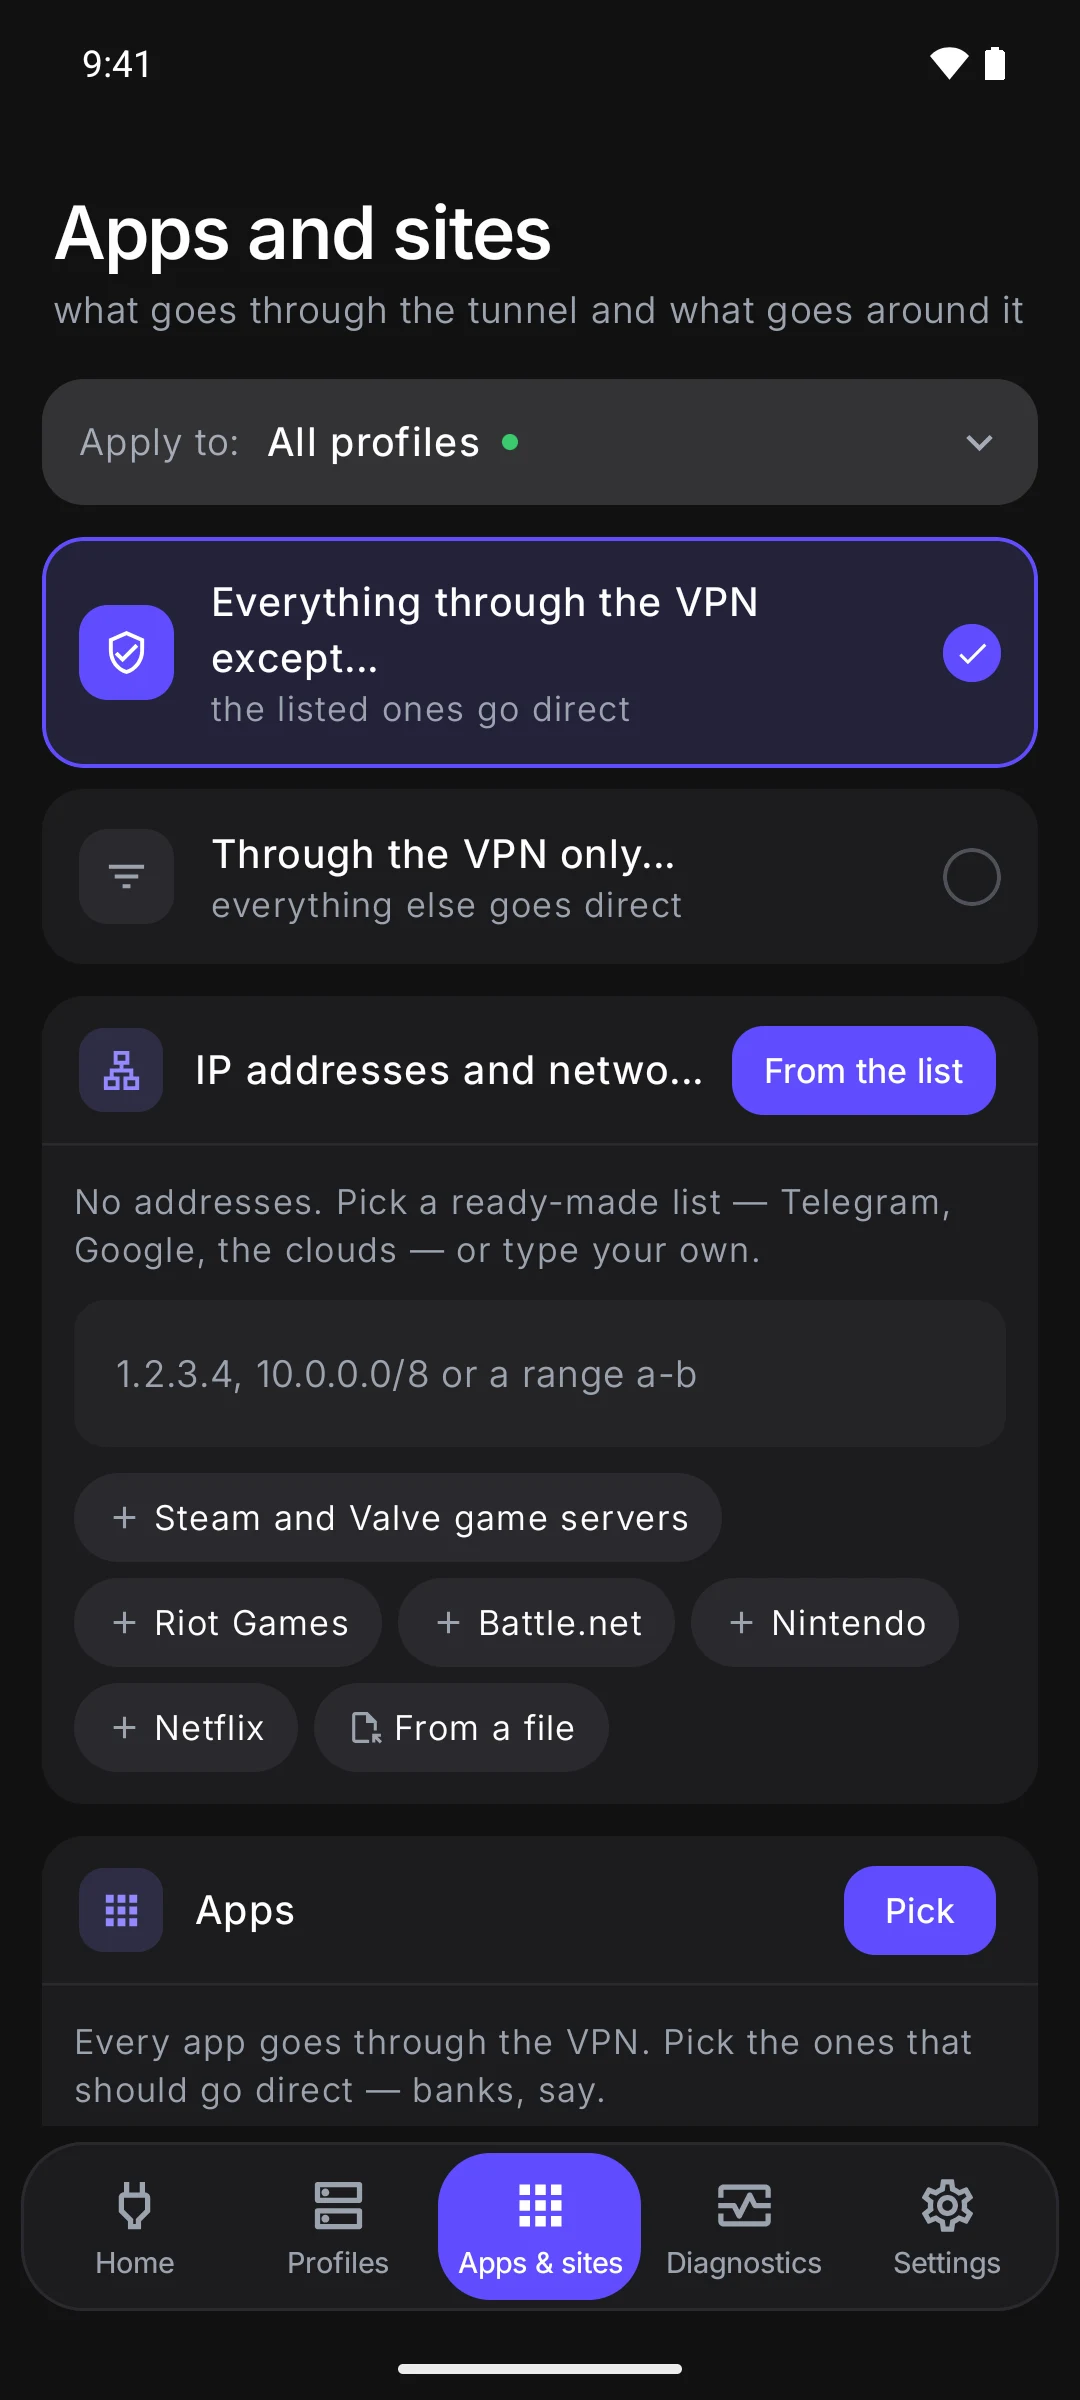
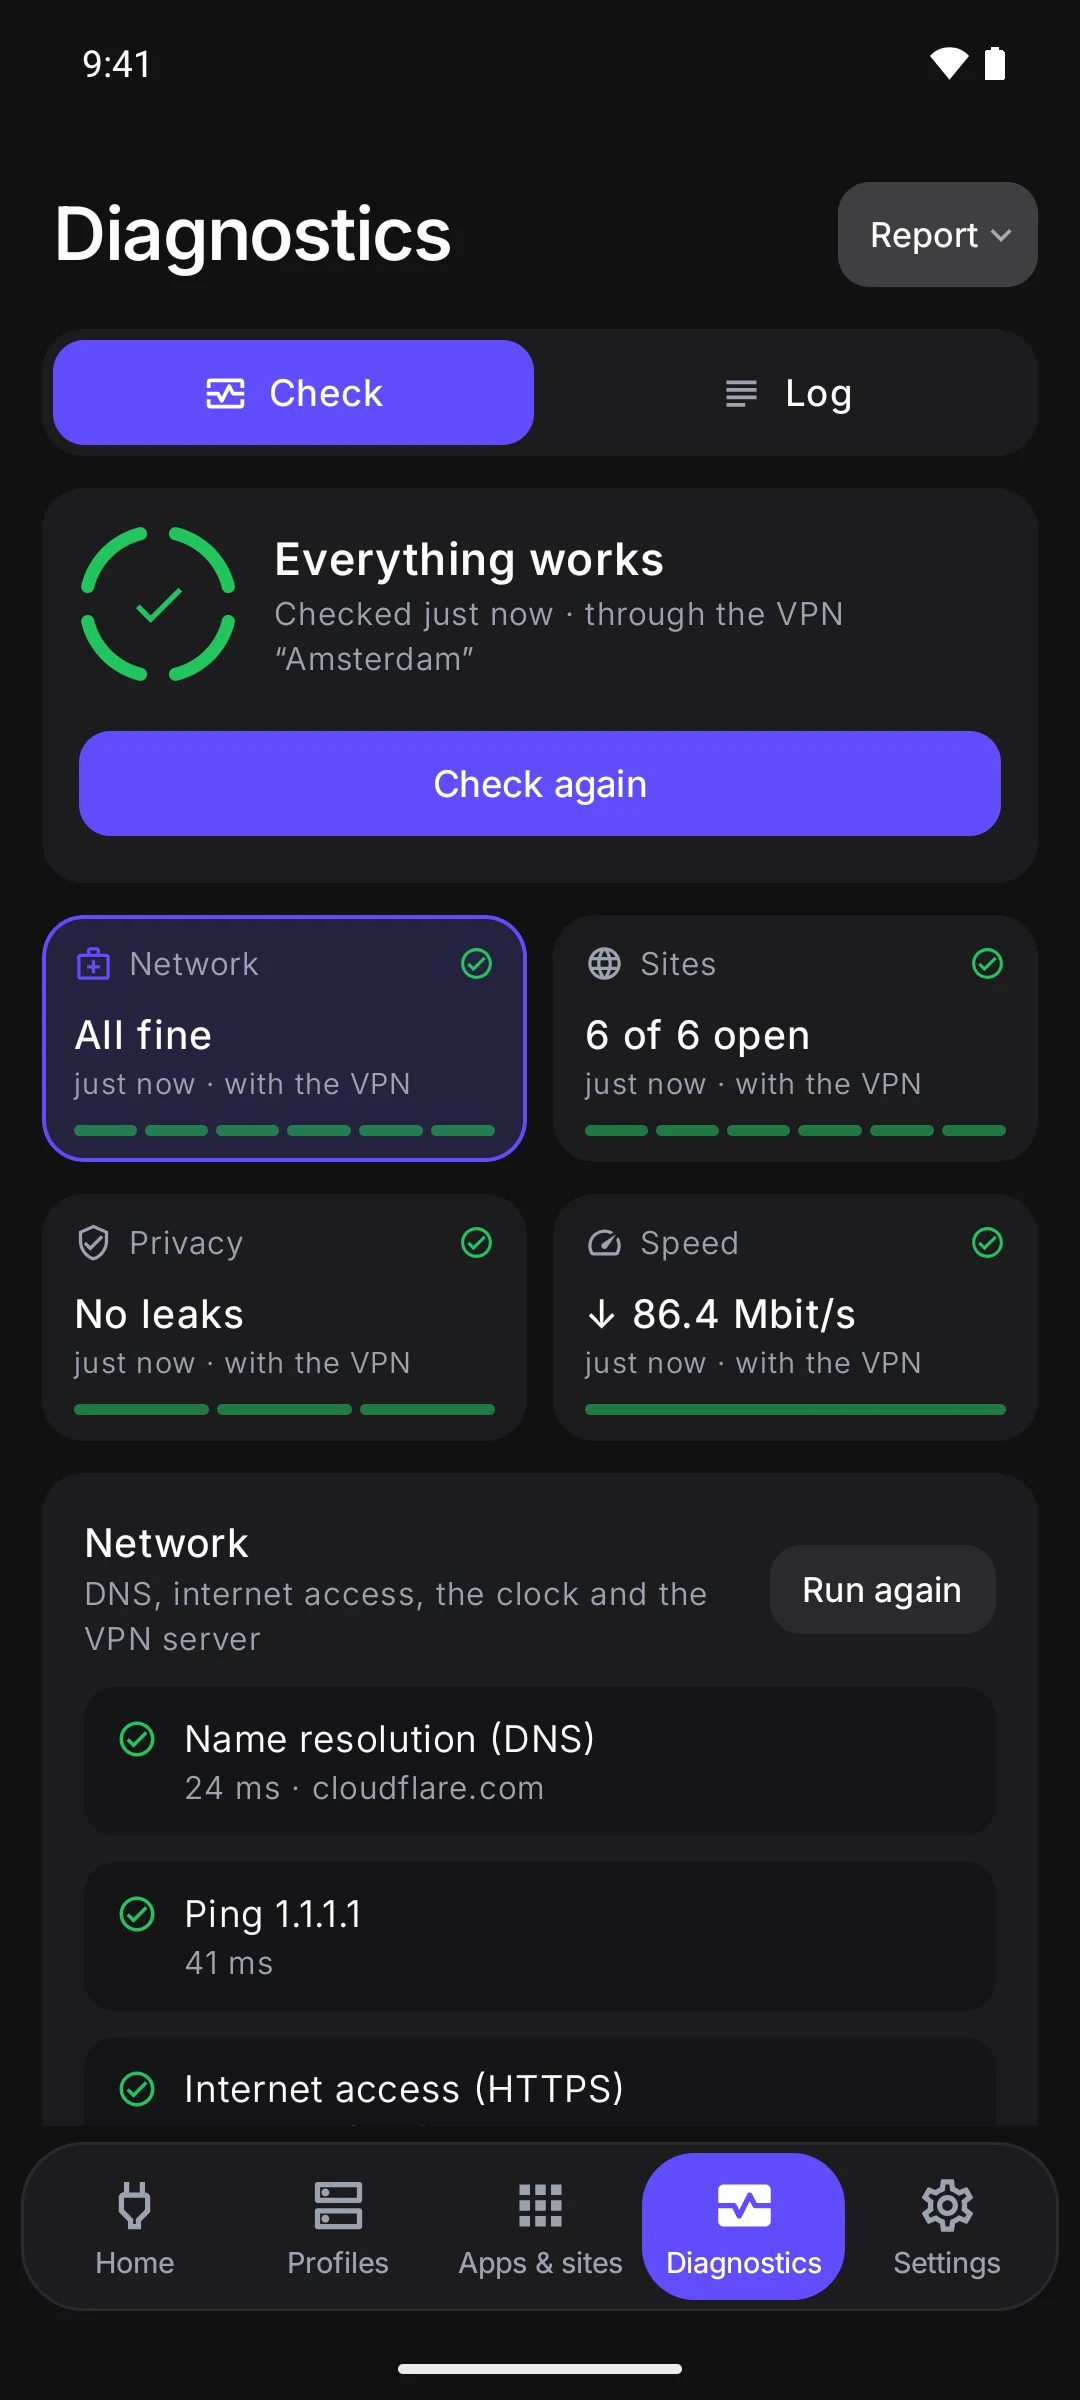
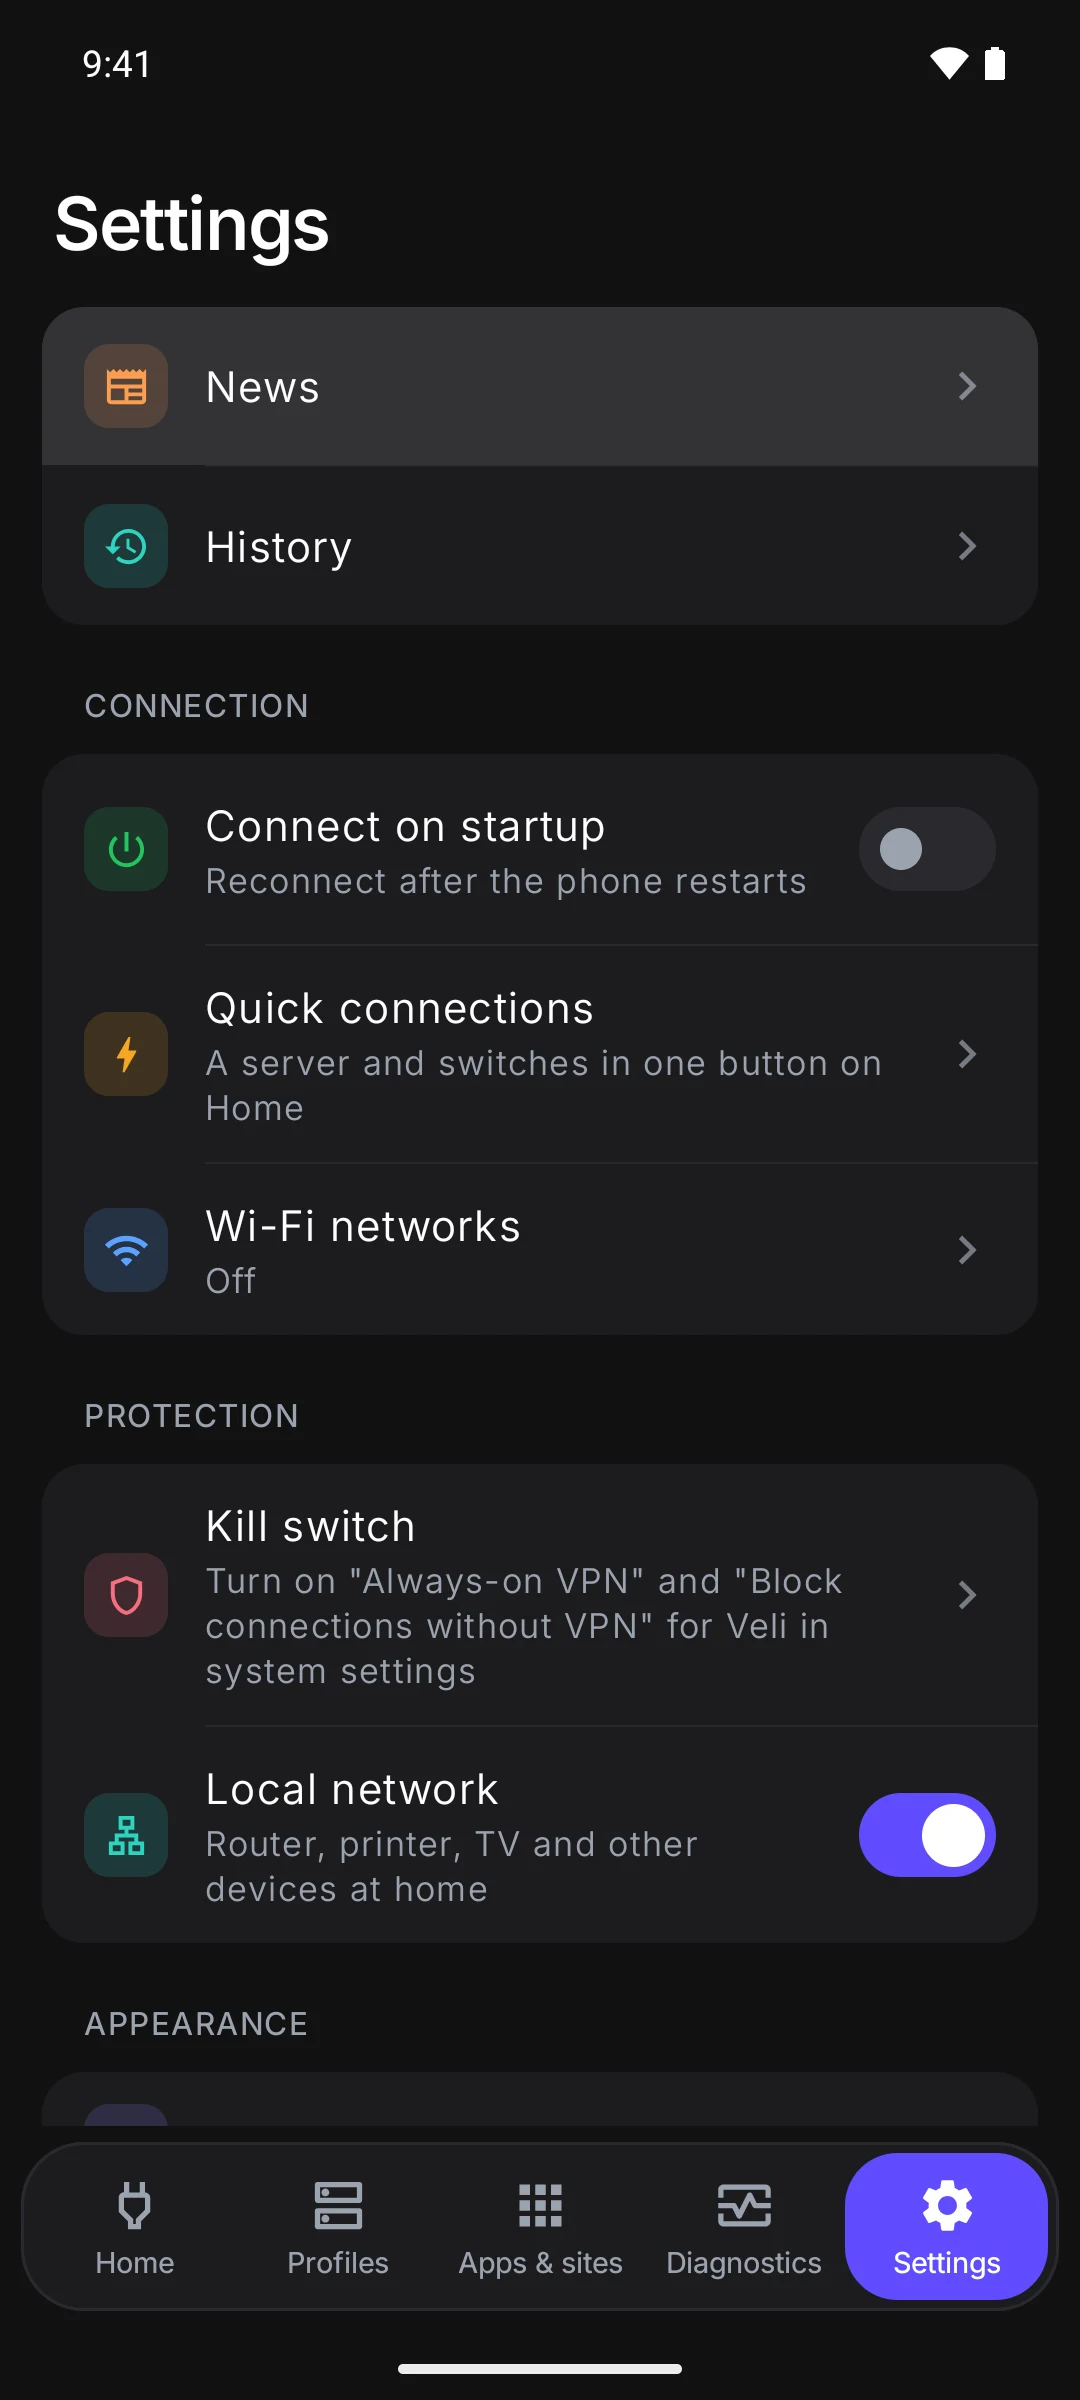
The same app, the same links and subscriptions. The sections are at the bottom of the screen: Home, Profiles, Apps & sites, Diagnostics and Settings.
- 01
Install the app
Download the APK from the Download page and open it. It needs Android 8.0 or newer. The phone asks whether apps may be installed from this source — allow it.
- 02
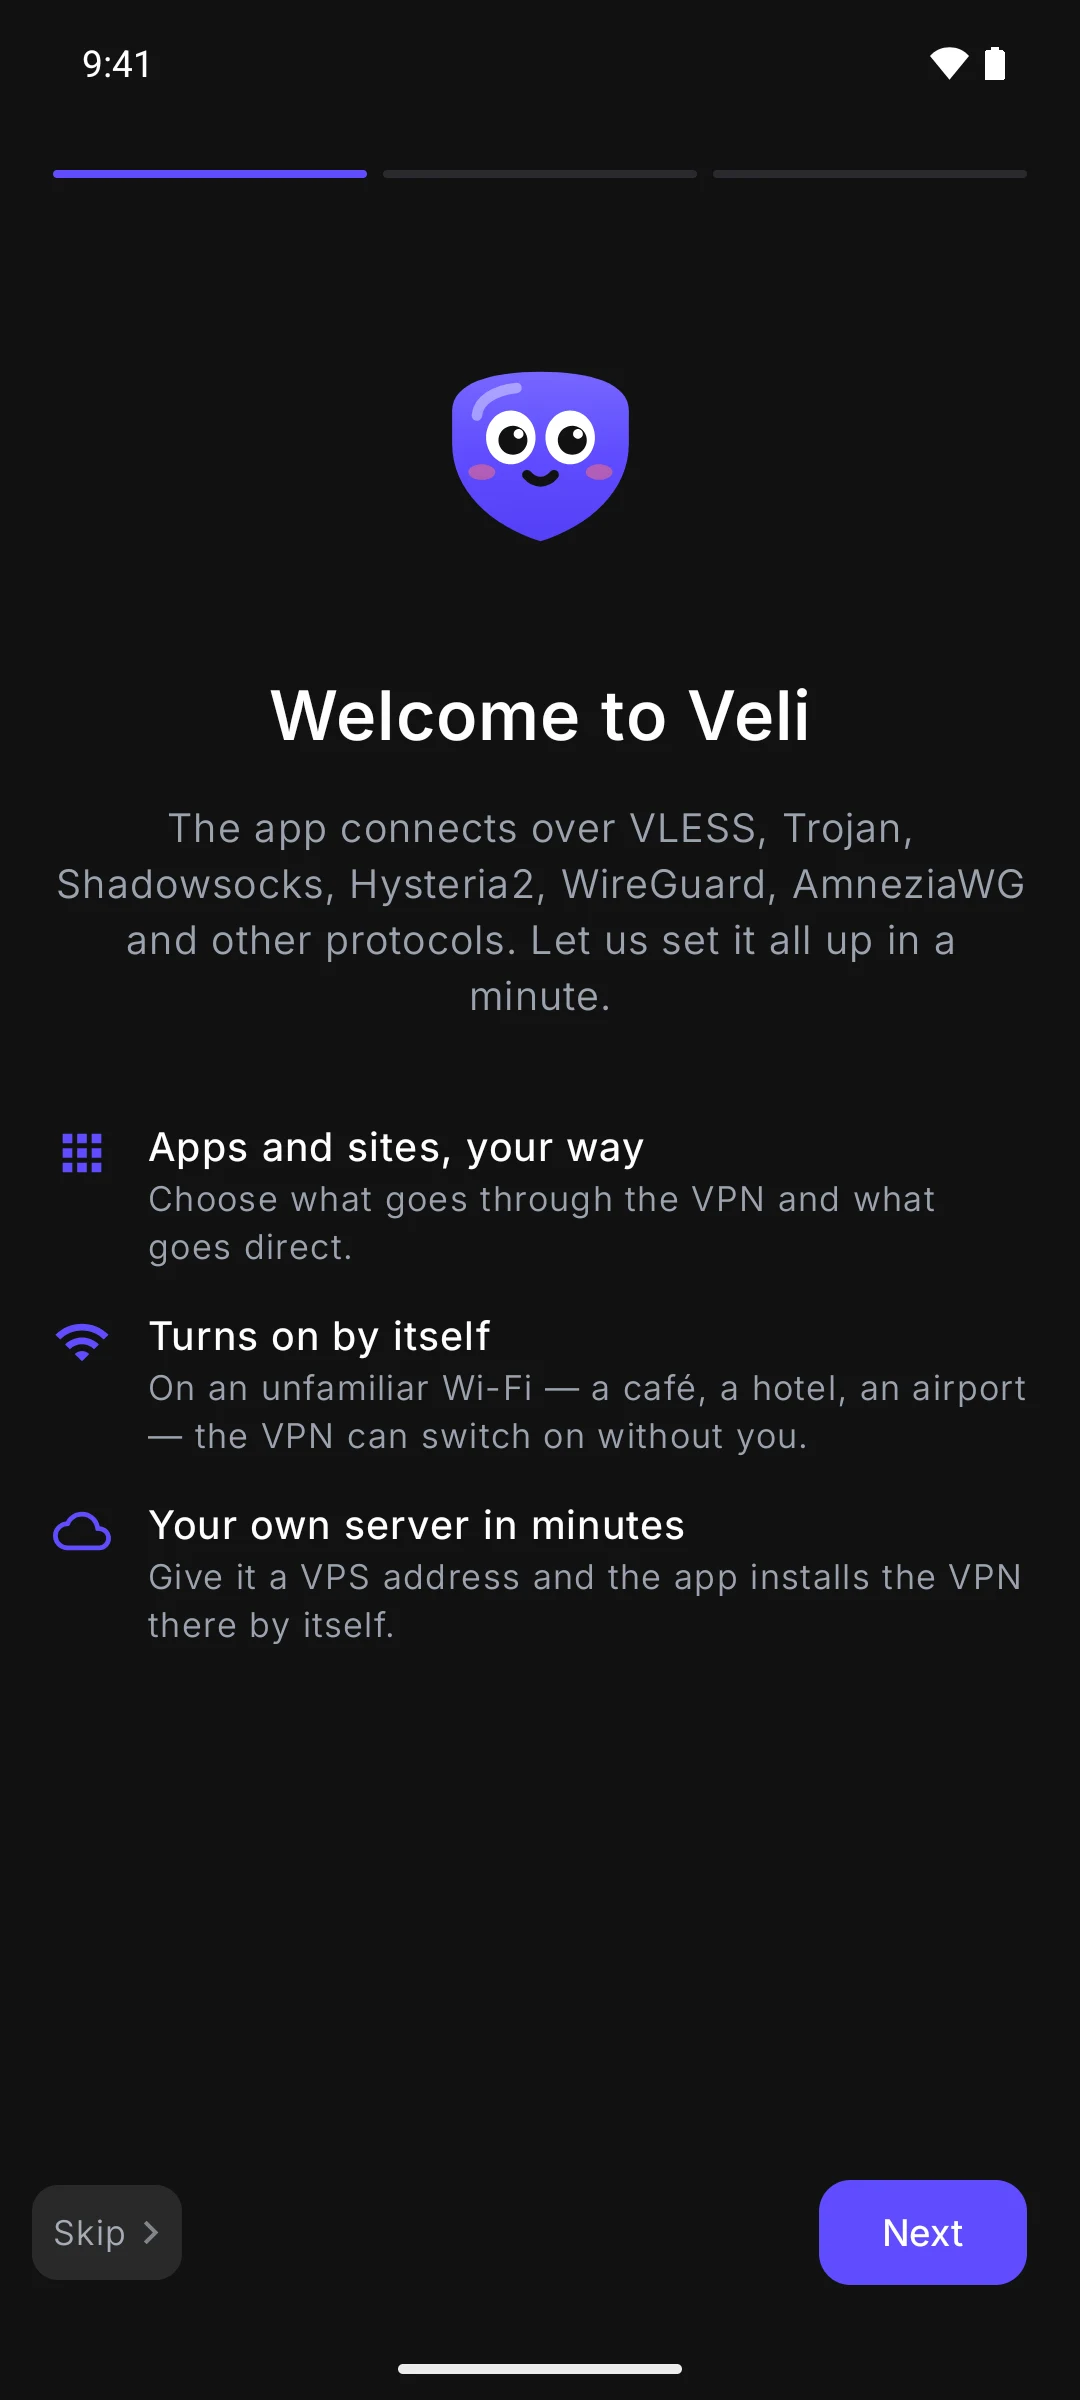
Go through the first run
Three short steps: what the app does, how you are going to connect, and the permissions. Any step can be skipped.
- 03
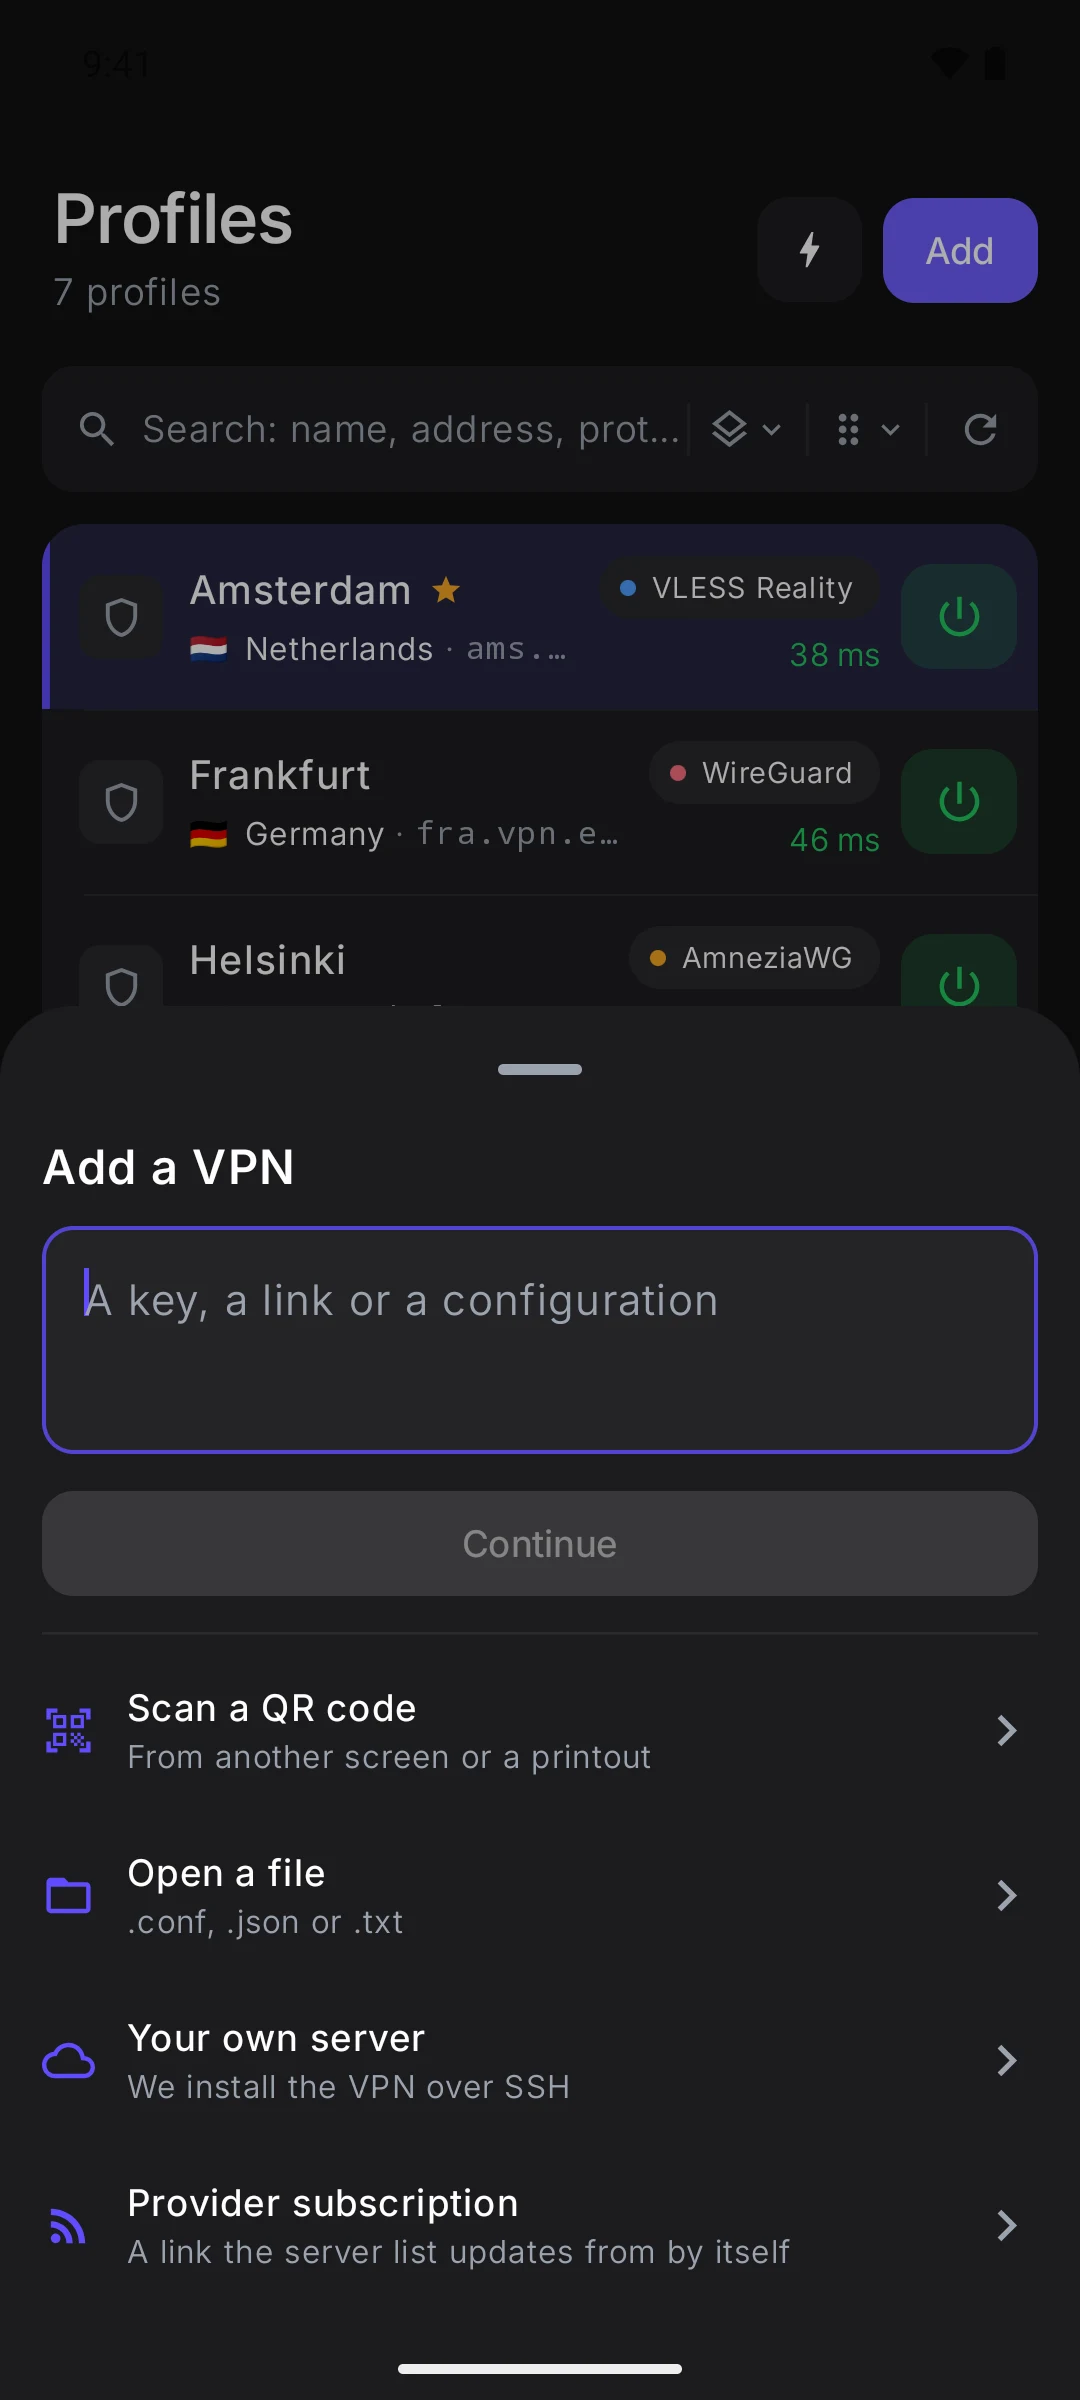
Add a server
Profiles → Add. Paste a link, a key or a subscription address and tap “Continue”. Further down the same sheet: a QR code, a file, your own server and a provider subscription.
Is the server already on your computer? Open the profile’s menu there → “QR code for the phone”, then scan it: Add → “Scan a QR code”.
- 04
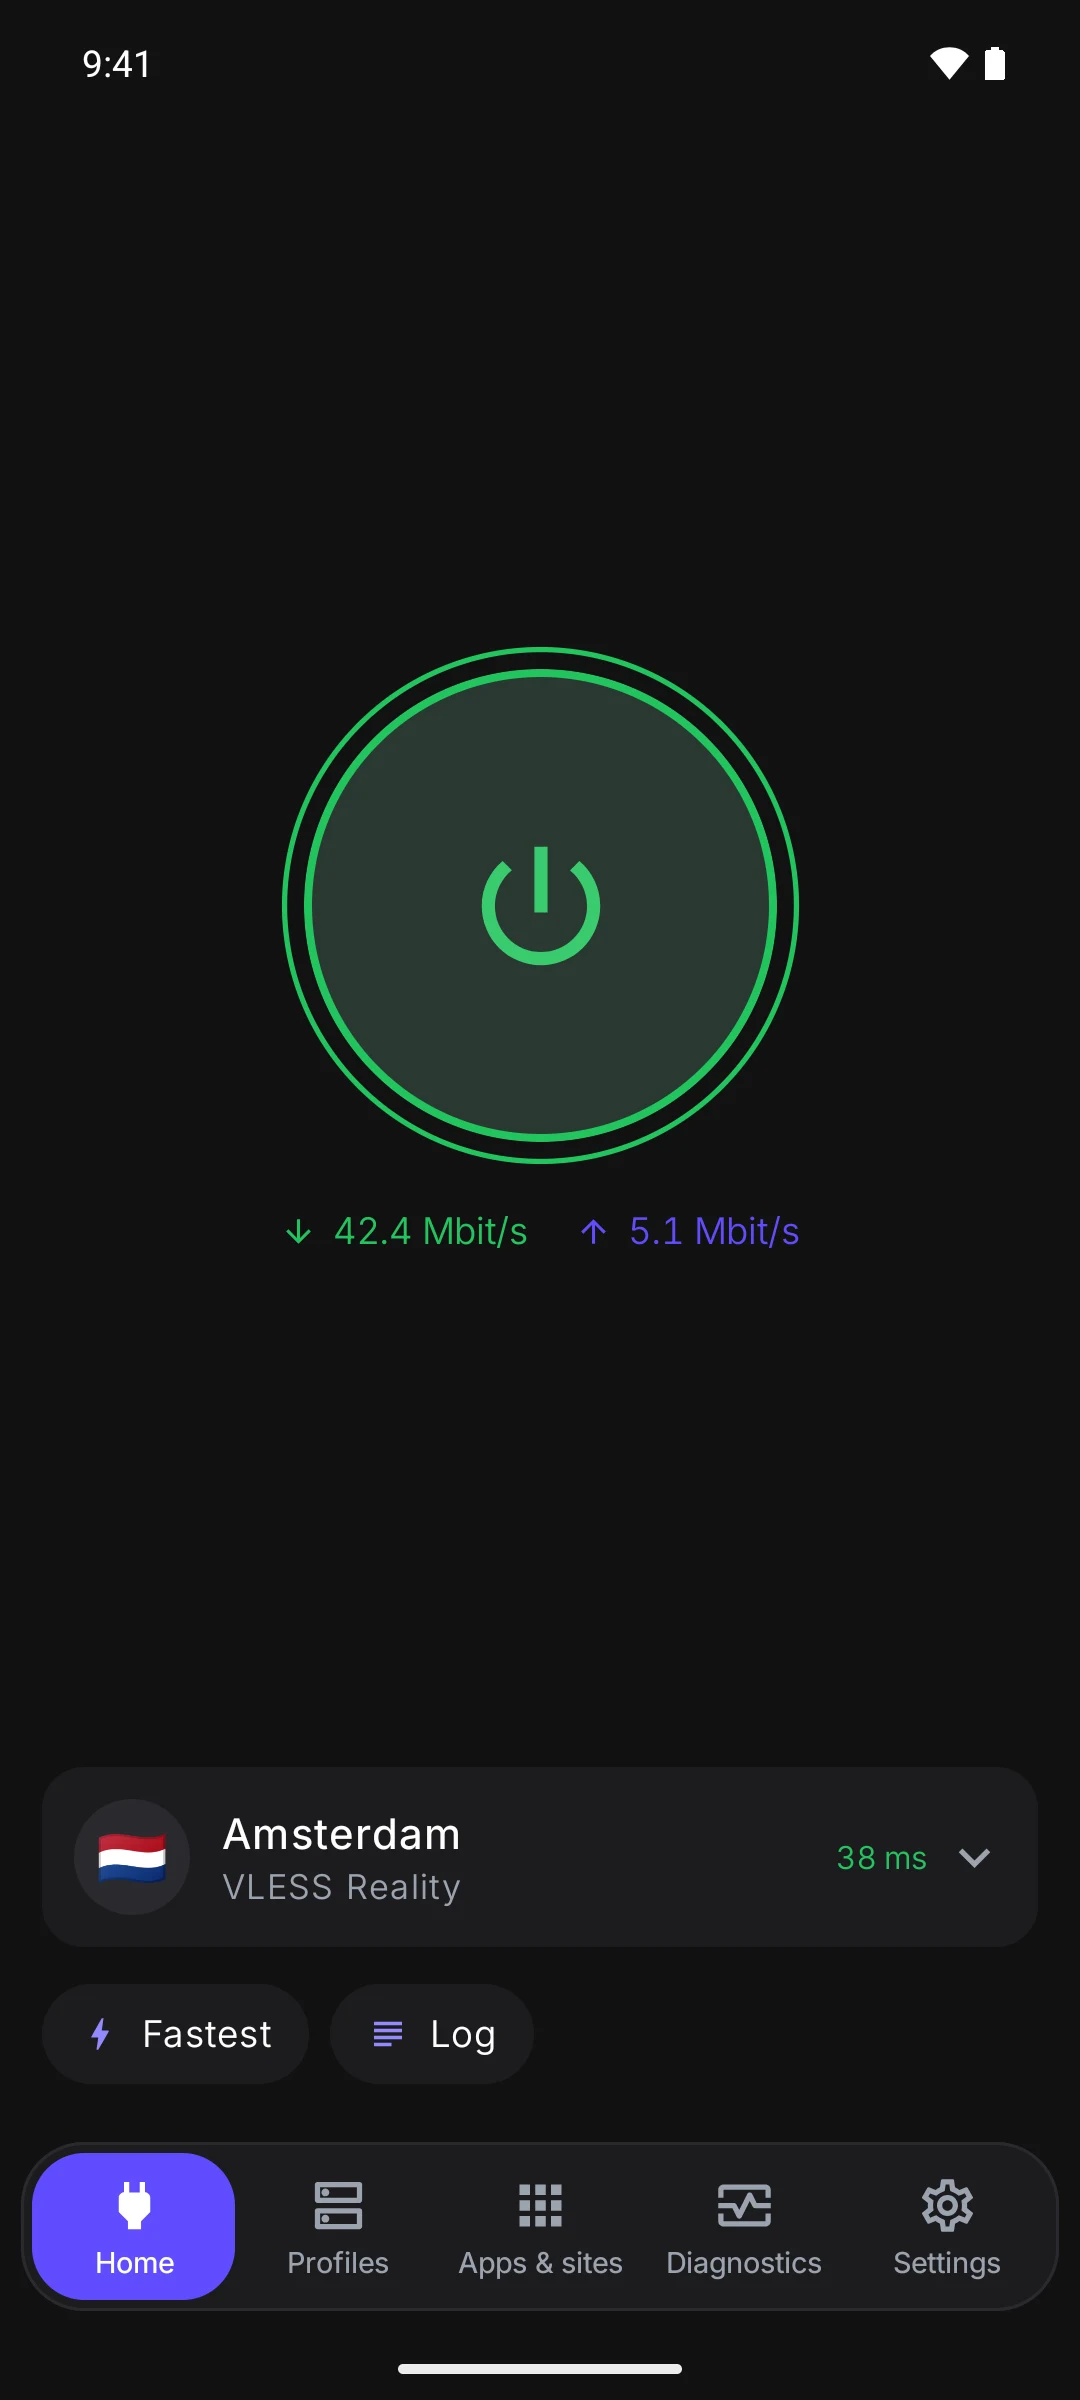
Tap the big button
The first time, the system asks for VPN permission: the tunnel cannot come up without it. The button turns green and the speed appears under it — the VPN is working.
Sections
The same five as on a computer. Home is the button and the chosen server; the other four are below.
What the phone can do
- What connects
- VLESS, VMess, Trojan, Shadowsocks, Hysteria2, WireGuard and AmneziaWG. OpenVPN, TUIC and ready-made sing-box and Clash configurations do not connect on a phone — the app says so right away.
- Rules for apps and sites
- Which app goes through the VPN and which goes around it can be chosen on any protocol. Site sets work on VLESS, VMess, Trojan, Shadowsocks and Hysteria2 links.
- Your own server
- A VPN can be installed on your own server from the phone too, the same way as from a computer: Add → “Your own server”.
- Tiles and a widget
- Two quick-settings tiles — switch the VPN on and move to the next server — and a home-screen widget: no need to open the app.
How it differs from the computer
- There is no command palette, no keyboard shortcuts and no mini window — those are for a keyboard and a mouse.